Friday, 13 January 2012
Evaluation
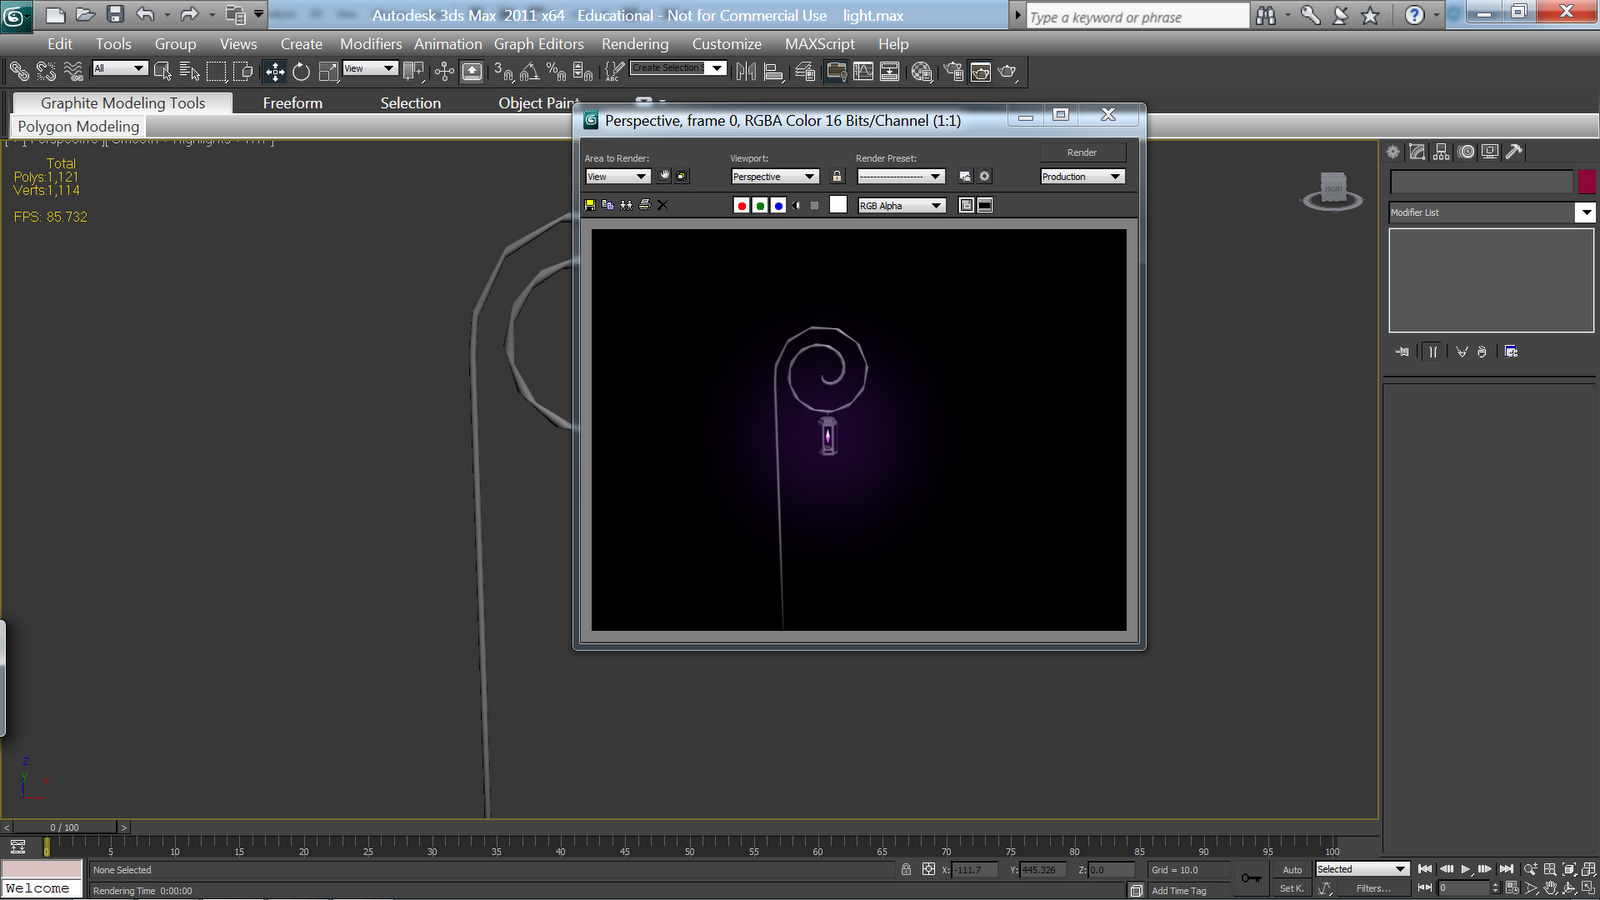
I found this project challenging as the program was difficult for me to use at the start and we had various problems with the program like freezing and the resolution was off which made it very frustrating to use. All in all I really liked my final street, my favourite parts are the houses as the texture map works really well and looking back I should have done a texture map on the church too as it doesn't look as good as the houses. I also really liked the glow I got to work, I think it gave the street a really nice atmosphere but I also wish I could have done more with the background as I think it's quite boring. If I could do the project again, I'd make a better floor plan first.
Friday, 9 December 2011


Thursday, 8 December 2011


Tuesday, 8 November 2011


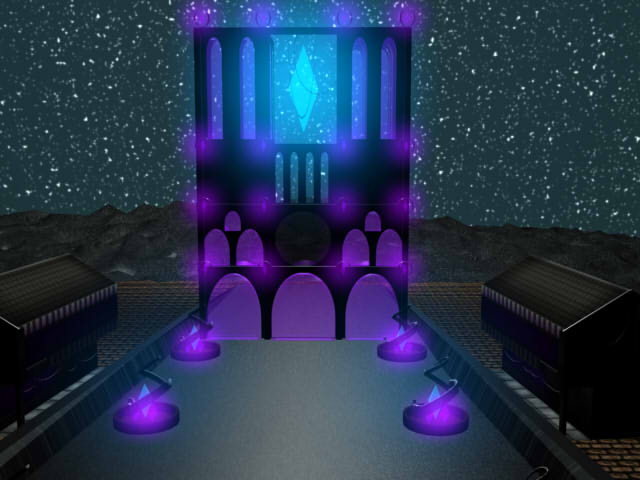
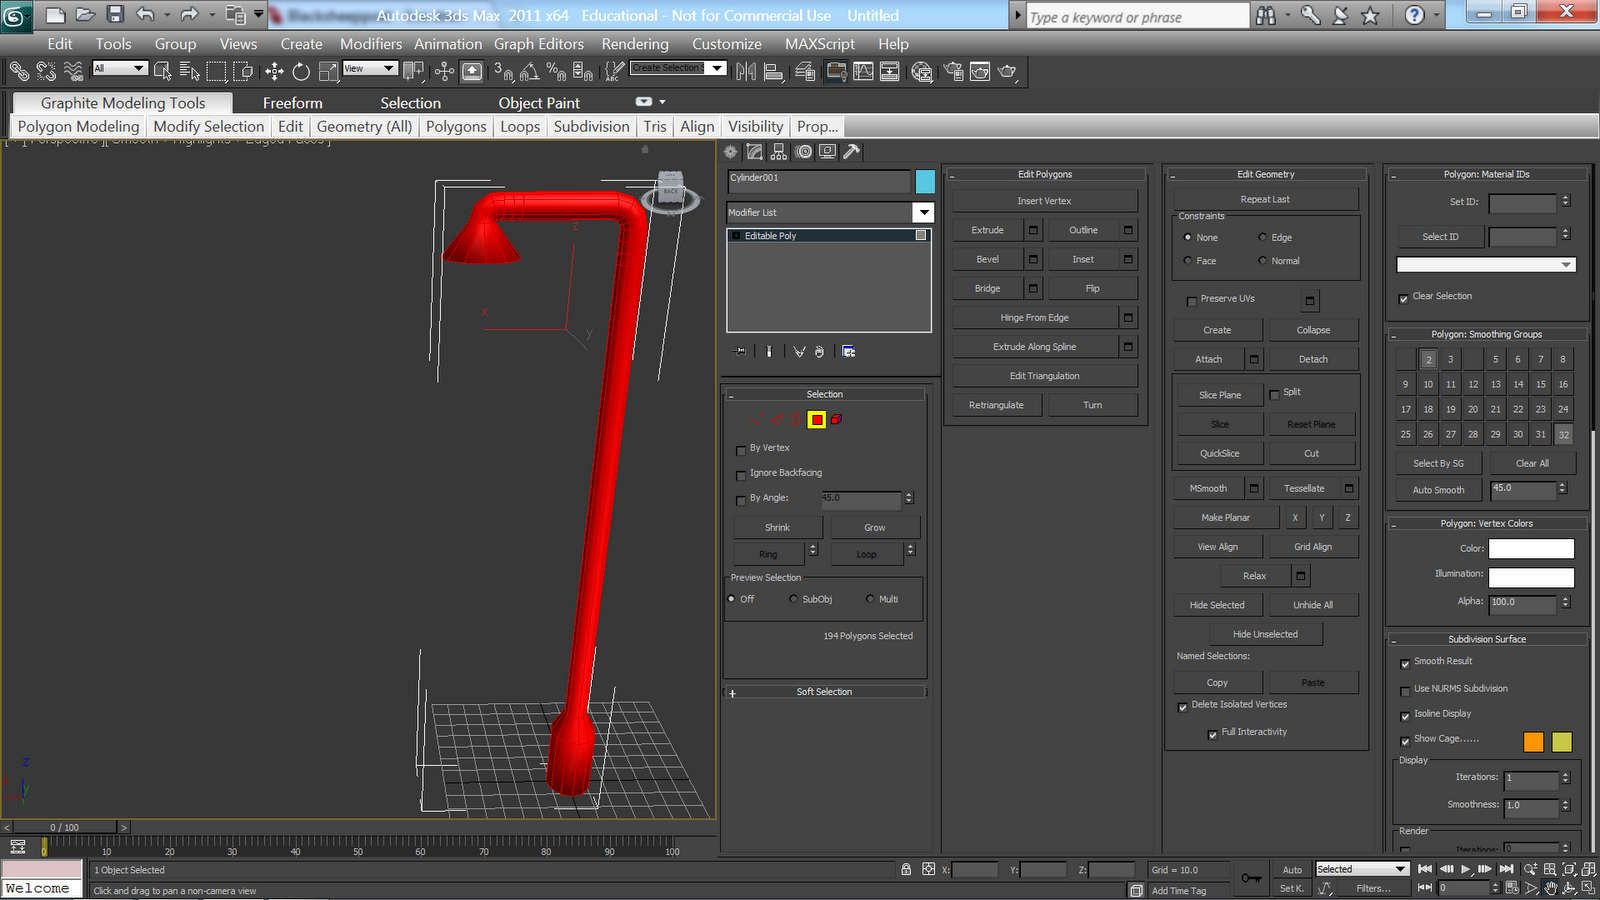
Making a lamppost
Today we made a lamppost in 3D with Mike using various tools like bend and extrude.


Tuesday, 18 October 2011
Texturing, extruding, lighting, glass and windows.
Today we did some more experimenting in 3D, first we went over textures quickly. These textures are made by using the material editor and simply click the box next to diffuse. You then select bitmap and simply choose any file with a texture and it will apply it, you then just click and drag the 'ball' onto the object you want to give a texture to. The problem with textures taken from pictures is that when they 'tile' (repeat again and again ) it can look messy and unrealistic so it's best to edit your texture first.

We then made a new plane and added a texture of a house, making sure the plain is the same size as the picture. We then made the plane an editable polygon and added two things using the modifier list, editable poly's and UVW map, we then positioned the guidelines that become visible when you click on the little test tube icon in a grid around stuff like windows and doors by selecting 'edges' and moving them about with the move tool. Then we switched to 'polygon' and selected a window, pulling the sidebar on the left out and clicking the box next to extrude, we then set it to around -100 to make a dent. This is the finished result.

We also learnt how to make glass using a texture. You simply go into the material editor and instead of adding a texture you scroll down and play with the glossiness until the ball you have selected looks shiny. You then scroll up a bit and change the colour to anything you want and pull down the opacity as low as you like.

We also learnt how to make a 'window' or simply cut out a shape from another shape. First you make a new box and position it where you want the hole in the first box, then you select 'compound objects' from the drop down menu on the left and select 'boolean'. After clicking on your box it should make a hole where the second box was.

We also looked at lights. We made the quick skirting board using bevel and emboss on a box and added a quick shiny wood texture. Then to make light we clicked on the light symbol on the left control box and selected omni. We then played around with how close/far or high/low it was to get different effects.

We also managed to change the colour of the light by pulling out the menu on the right and changing the colour option.

Finally we were left to experiment and I managed to make this quick mock up of one of my houses for my street using the bevel and extrude techniques we learnt.

Tuesday, 11 October 2011
Selecting aspects of images
Today we looked at taking a certain aspect from one picture, for example a window, and preparing it for use in a texture file.
First, just like before we first straitened the building up as much as we could on a new layer. Then we got out the rulers and made a box around the window we wanted for the rectangle marquee to clip to when we selected it.

We then copied it and made a new document (which if you have the preset set to clipboard will be the exact right size for when you paste the window in.) After this we skewed it a bit more to get it as straight as possible and then we went around the frame with the pen tool to get an accurate selection. When we finished the path around the window we right clicked it and selected 'convert to selection' and then we inversed the selection so we could delete the wall and save it as a png file to keep the transparency.

Subscribe to:
Comments (Atom)